Continuing on from
Part-2, progress has continued on this thing. Despite some concerns from commenters regarding glueing the rubberbands to the the vehicle's hull, there was no such problem. However I did discover that I had left the dashboard out (oops), but that was fixed easily enough.
 |
| The hull is assembled. |
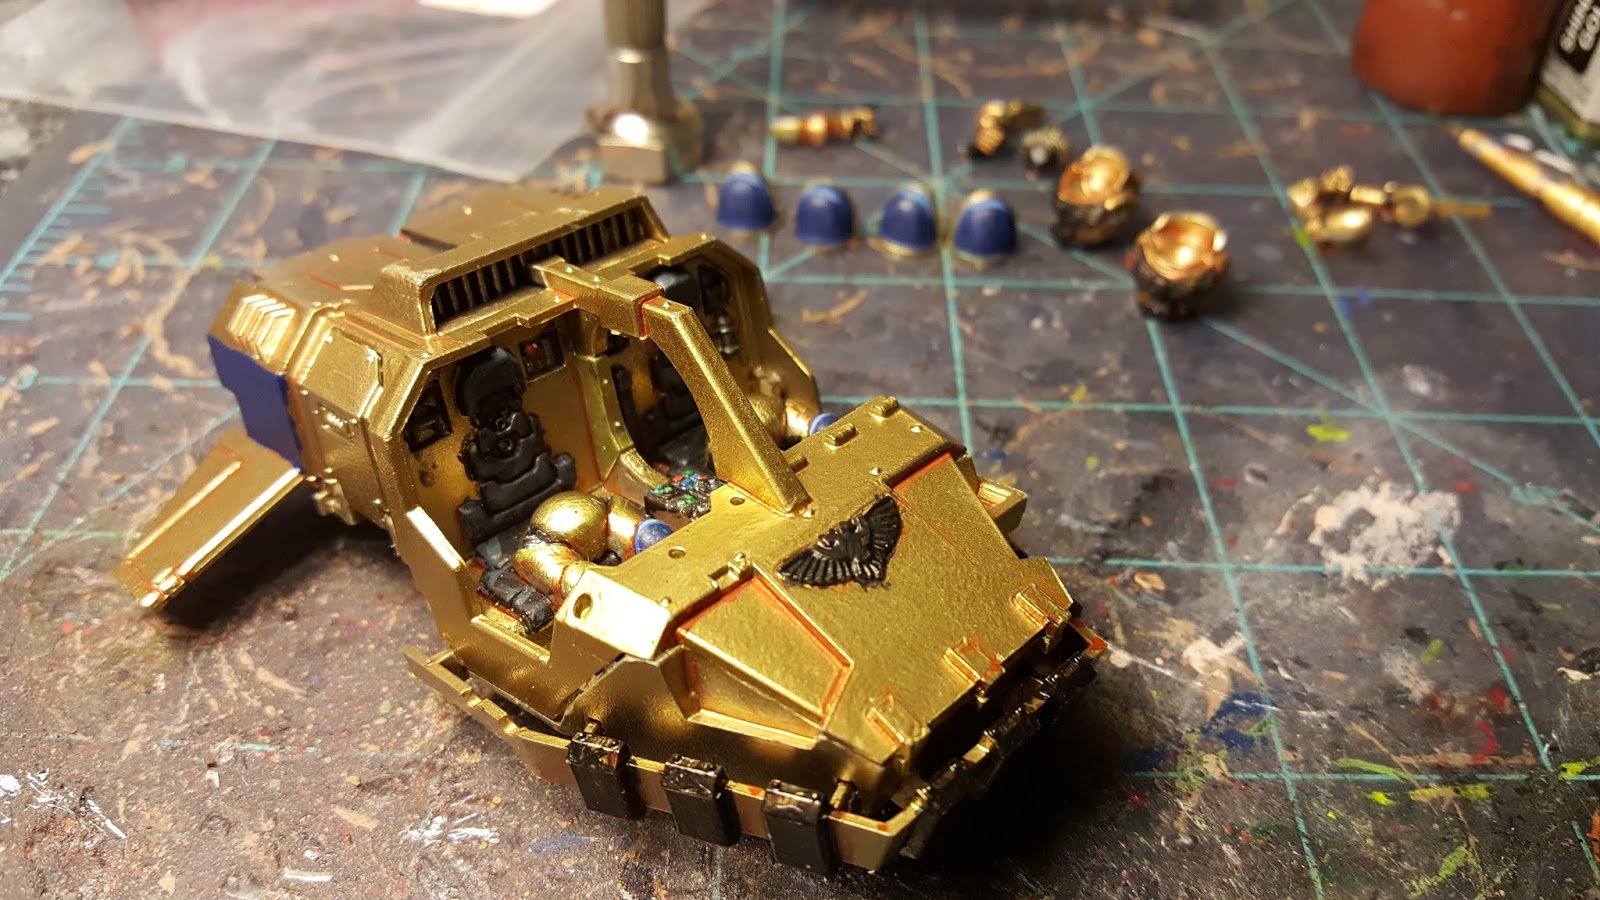
Next up I attached the rear jets. Then I added the grav plate bumper thing that goes along the sides. And finally I glued on the doors. The original instructions suggest a way to build this thing so that those compartment doors can open, but the pegs broke off both of them when I attempted this. Not seeing any benefit in that feature anyway, I figured "screw it" and just glued the doors shut. Following that, I painted a Shining Gold highlight along all the edges.
 |
| More stuff added. |
As I have shown in some
other posts, I like using my pin-vice to paint heads. I feel I that do a better job painting heads this way.
 |
| Head painting the fun way. |
I then applied decals to the crew's left knee pads and one of the paldrons. The Assault Icon on the paldron will be repainted to match the style on the Tactical Squad I painted for Kill Team. The Chapter Icon is going to be handled differently this time, but more on that in a future post.
 |
| Decals applied. |
While looking at painted examples in some of the recent Codex Space Marine publications I was inspired by the examples showing them armed with Assault Cannons. I had a Ravenwing accessory sprue handy which just happened to have one (two, actually) on it. So I built that and added a magnet to the mounting bracket. Checkout
Part One to see more on how I made this thing magnetic.
 |
| Now with Assault Cannon option. |
In the background of the above pic you can see a few more bits. Most of them are going to make a 2nd gunner torso. I am making that so that I can also switch out the guns in that position as well. More of that in Part 4. See you then!


5 comments:
Great progress mate.
Looking well so far there. Bravo.
Since there's already a hole drilled into it, I suggest putting that helmet on a spike (permanently) once your done painting it!
...I might have to break down and make some 'marine head on pikes' objective markers to satisfy this fetish of yours aren't I? 😁
Thanks guys, I am pleased with how it is turning out.
Post a Comment