Showing posts with label Original Space Wolf Chapter Symbol. Show all posts

Monday, December 02, 2013

RT era Imperial Guard paint scheme on current era Cadians

You just got to love a title that only 40K players can understand, right? Yes, I painted up some of the current plastic Imperial Guard in the old Warhammer 40,000 Rogue Trader-era Necromunda Spiders color-scheme circa 1989.

 
OK let me expand on why I did this: a long time ago I showed off some of my pal's old Rogue Trader era Imperial Guard guys that I painted for him along with some of the models that he had others do for him as well. For the sake of professional anonymity I refer to him on this blog as 'The Doctor'. You can see those Imperial Guard models here. I have always loved that paint scheme, and in ages past when my brother was collecting IG, we agreed to paint his Cadians in this color scheme as well. I only ever did the one model and you can see him below.

The single painted metal Cadian in my collection.
He remained a test-bed for future color schemes, only that I painted him so long ago (somewhere between '97-'00?) that I either couldn't recall the exact paint combination or that one of the mid-tones is a GW color that dried up on me which there isn't a current analog for. Regardless, I was determined to try it. Spotting a fairly cheap 'plug and play' box set of 5 Imperial Guard troopers I figured it would make for a fairly quick experiment. It was around about this time last year, perhaps a few months further back, that I mostly finished these guys, but for whatever reason, I just didn't. In the next pic you can see one of these troopers behind a Long Fang that I completed back in February of this year (2013) to give you a clue as to the "smorgasbord" painting technique that is my painting station! LOL! 

"Finish me! Finish me!"

Slight digression: this pic was apparently overlooked when I did the Long Fang posts. You can see how I like to paint the components prior to assembly, and you can see the original Space Wolf decals along with the backpack where I hand-drew the Space Wolf logo. By the way, that orc next to the guardsman is to be completed very soon!

OK, back on topic: During my Thanksgiving break I wanted to finish something! Finishing Mad Dok Grotsnik was quite rewarding and I wanted to do that to something else. For the sake of doing something different, and because they were so close to being finished, I chose these guys. Just a few touch ups, and they were done.

"Finished and ready to kill!"

Funny thing is, it took me the longest to complete their transfers. I opted to stick with the 2nd edition era regimental organization that was laid out in the original Codex: Imperial Guard.

A glimpse at the 2nd Ed Codex Imperial Guard Regimental Organization table and I was set
I very much prefer this over the vague and lazy system that the GW design team has used since. You can't see it on the old Cadian at the start of this post, but he has a patch colored Yellow Company, Blue Platoon. I decided that all of my old metal Cadians will retain this scheme, but the newer style models will be part of a different platoon. I feel that this works great since that is how they are purchased in the current Codex (i.e. by the platoon). My Valhalla models will be part of the same company as well, but I haven't thought out what their companies will be yet.

The platoon I chose for these models was Red Platoon. So, what I did next was locate the appropriate decal sheet from my decades old collection of GW decals, and paint on the colors after gauging the size of the decal. I then transferred the decal (this always makes me cuss like a pirate). I then trimmed off any excess, before finally going over the clear parts of the decal with black paint to not only cover that clear area, but to cover the over-lapping color and to add additional bond to the decals. The next pic should help with making sense of the result of what I just described.


"Red Platoon lives!!!"
Using the Middenland Tufts on Mad Dok Grotsnik a few days before, I was really hooked on how well this looked and how easy they are to apply. I decided to not use static grass on these guys but only use a few strategically placed tufts. I thought this gave a more hardened battlefield look, and it also reminded me of the New Mexico desert (of which I have some rather fond memories of).

All grunts have to have accessories!
 I found a guy selling an IG bitz bin on ebay awhile back and scored a whole bunch of backpacks, arms, guns, etc. I painted up one of these to add to this unit just to break up the monotony of these push-and-play models (BTW-these guys suck in that regard: you have to glue their guns in if you want them to stay on during game play!). I am most likely going to be putting together a small force of British soldiers for Bolt Action (Gasp!) and I used this backpack as an excuse to play around with their color scheme. I think it turned out good.

What does the future hold with this unit and my Imperial Guard in general? I'm not sure at the moment. With rumors of them getting a new Codex soon, I'm reluctant to put the whole army together only to have to reorganize it like I seem to have to do the Space Wolves each time they get a new book. So I will hold off on them for now, although I want to take this Squad up to unit size of 10. The perfectionist in me (having seen the blown up photos while typing this post) wants to do some slight touch up on their guns. Otherwise I like how they look with this paint scheme. I do think future models will loose the yellow wing motifs and I will probably try out a metallic gold instead.

I hope you enjoyed; let me know if you think this works!


Sunday, February 24, 2013

Long in the fang (Part one)

Flocked, finished and ready to fight!
Since as far back as last July I have been using Long Fangs with my Space Wolves. One of the few units in the current Codex: Space Wolves that improved over the previous Codex, and it has more to due with the points cost of the unit than anything else. The addition of Snapfire and Overwatch in 6th edition has only added to their strength. Looking back at the battles in which I have included them, and you'll see that more often than not they not only killed more than their share of points, but often survived the battle. I found in my collection two of the old 2nd edition missile launcher marines from the Warhammer 40,000 rules boxed set, and ran them with the old RTB01 marines that I had turned into Long Fangs way back around '95.
RTB01 marine with 1st ed. Imperial Guard lascannon
When the Longs Fangs were created as a unit type way back in the twilight months of 1st edition in White Dwarf magazine, I had to reorganize my existing units. Prior to this Space Wolves were little more than a color scheme for your Space Marine Chapter, but all Space Marines pretty much had the same list. I loved the new background and gladly incorporated into my models. The original models all have studded left shoulder pads while the newer Mk7 armored marines now had smooth shoulder plates with the chapter symbol now being presented on the left side. My solution was to put the pack marking on the left leg greave and leave the chapter symbol on the right shoulder. I thought this worked out well, even though I have never seen anyone else do this. The next step was to take the heavy weapons out of the Tactical Squads and form them into Longs Fangs packs, while the remaining Tactical Squads would become Grey Hunters. Despite the age of these guys, and my maturity as a miniature painter, I have a fondness for these old models and I hesitate to strip them down and rework them, so in the meanwhile I will simply add newer models.

The "new guys", base coats.

 I started off as I typical do.
  • Clean up the model.
  • Add "ground" to the base.
  • Prime.
  • Base coat
  • Apply the layers (usually a thin mid coat, solid mid coat, thin layer coat, solid layer coat, and finish with a highlight).
The pic above shows these models at the base coat step.

While working on the two plastic missile launchers, I decided that a new Pack Leader was needed. The old model was armed with a powerfist, which proved to be a poor choice in game, and he was looking a bit worse for age than some of the other models. I also started to work on multi-melta guy as well. That model, along with the Pack Leader, will be shown in the later parts. For now, I will focus on the two missile launchers.
Knife guy. Mid-coat stage.
On this chap I simply added a Space Wolf knife. Nothing radical, but somehow it makes him immediately wolfy. Just to be sure though, I put a wolf tail on his missile launcher too. I decided to try painting the acquilla in a metallic color. Normally on the Space Wolves I have been painting the chest acquila in yellow/orange color which can be a real pain in the ass to get to a standard that I like an oftn frustrates me. I liked the color scheme I came up with on other models, vehicles mostly, and thought it could work well here.

Skull guy. Mid-coat stage.
On this guy, I attached a big wolf skull to his belt buckle, because that makes sense, right?


Skull guy. 3/4 stage.
 
 
Here's skull guy at the next stage, with the skull looking more boney and the acquila finished. I am pleased with the aquila here, and I think this is the solution to the yellow aquila dilema. 

Knife guy. completed.


Skull guy. Completed
The pics above show both models finished. Although it is difficult to make out, the original 1st edition Space Wolf Chapter markings were used on the shoulder plates. They have Army Badges on the right leg, which I will discuss more on the Multi-Melta guy's showcase in the Long in the Fang part 2.

Hope you enjoyed,

Friday, January 25, 2013

Erik Axegrinder: Deathwatch Marine

Presenting: Erik Axegrinder of the Deathwatch.


Die Xenos scum!
 
Erik Axegrinder didn't begin life as my typical named Warhammer 40,000 personality would. No, in fact, Erik was created on paper as a Deathwatch RPG character for the Doctor's Deathwatch game. I knew he would be a Space Wolf and I wanted to tie him in with my Space Wolf army, so I decided he should be kin to Sven Axegrinder
 
His origin is somewhat meek, one really sort of limited to what elements were randomly generated for the role-playing game; but I did decide that the reason his battle-brothers forced --I mean, bestowed the honor of joining the Deathwatch to him, was because he was found siting alone during a Great Feast with his nose in a data-slate and heard to say, when questioned, about his lack of participation that he was reading up on some "great ideas for us in this book"; the book turned out to be the Codex: Astartes. Two weeks later he found himself swearing new orders to a new Commander (Talltree, I believe, a character associated with the Doctor's legendary Rogue Trader era space marine chapter), and being requisitioned a bunch of sweet new gear.

It was during our 1st game, that Erik came to the realization that "What was I thinking?! The Codex Astartes is crap!" as the unit was getting thrashed by a Thousand Sons Dreadnought! It was brutal and epic! LOL

It was a short 2 session game that we played while I was in town for a business trip. All of us decided it would be cool to actually make a miniature of our character even though we rarely use miniatures for the Doctor's games (in fact, it might actually be never). One of the guys (Brian) got his done up really quick, and even though I had gathered together all the elements to make him and primed him almost immediately, I only dabbed at the model for about 2 years... in fact if you look through past blog posts you might see elements of Erik scattered about on my painting table.

While working on some Long Fangs and Land Raider bits (all future blogs in the making) I kept throwing color on the Erik model. This (pic to the right) is the point I was at with him last week. And yes, I prefer to paint as I assemble...Yes, this makes it slower to get them done but I am far more satisfied with the end result.


While working on the Long Fangs earlier today, I was a bit vexed with one of the models that didn't have anywhere to put his chapter icon. The solution was to put it on the back plate on a back pack. I simply grabbed a micron, and drew it on. So pleased with how that turned out, I repeated it for Erik's backpack as well.

That's right, hand drawn!
 After that, I decided it was simply time to finish Erik. And finish him today! After a series of touch-ups I decided he needs some grenades. I have a bin with a lot of extra Imperial Guard grenades that I just love. So stuck those on after I was finished with the right knee guard.


Next I put on his arm, then the knife and finally the shoulder pad. A note on the shoulder pad, this is one of the original Rogue Trader era decals, and I discovered that these are bit brittle with age. The semi-circular bit on the lower right the icon tore off while handling, but I was able to fix it with a micron. Surprised at how easy that was to do considering that when I thought of the solution I was sure I would go mad in the attempt.


Next I added the Deathwatch plate then I applied some additional ink washes to the wolf pelt which I wasn't pleased with at first as I thought the head kept blending into the over-all pelt. I'm satisfied with it now.


And ta-da! He's now assembled! I fixed the base a took a few photos and now, here he is! 


Just needs some flock for grass (and yes, the base looks great with the top image, but that thing needs some grass too!), and I might stick a decal on his right leg but that might be more trouble than it's worth at this point... I shall ponder it.


In my 40K games, Erik will be used as either a Wolf Guard Squad Leader or as stripped down Lone Wolf. Which is why I chose to use the yellow and black claw markings instead of the red and black of a typical Grey Hunter. I have no doubt that Space Wolves returning back to the chapter would be anything less than a Wolf Guard for the experience! Or perhaps to find their original pack has perished or maybe his mingling with other chapters now puts him in a weird 'outsider' status? -Lone Wolf!


Thanks for reading, I hope you enjoyed!

 
Bring on the glory!!!!


Update:

Now with flock
 

Sunday, February 12, 2012

"So Ronery, and sadry a rone"


It's been awhile since I had anything newly finished to post, but I finally got the Lone Wolf that I started to build back in...well, that last time I had a game with Warfrog actually. So if you recall the New Years Resolution I made to try to get as many of the single minis on my painting table painted this year, you might spot this Space Wolf model standing next to a gunner with a red shoulder pad. That fellow is this Lone Wolf. Here he is below prior to being assembled and just few coats of paint away from being done.


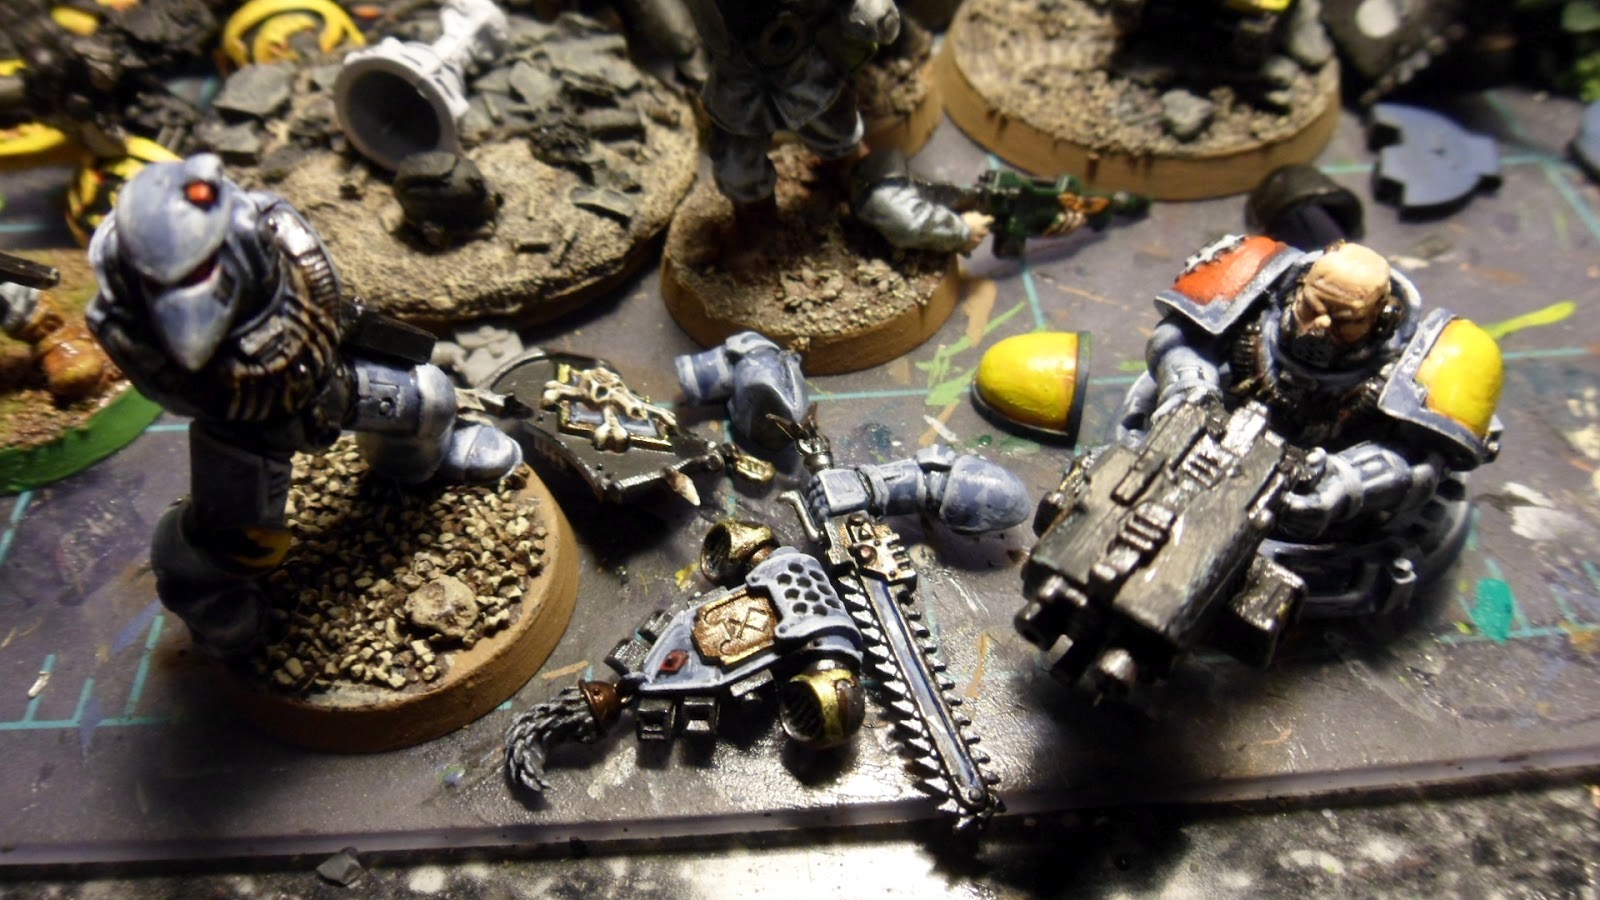
Seguewaying slightly before I talk more about the Lone Wolf, the gunner was originally the gunner to my Leman Russ Exterminator, who found himself unemployed when his vehicle got dropped from the latest Space Wolf Codex. He had been reassigned to my Land Raider Crusader that I've been slowly working on in the 'Pods to Drop Lands to Raid' series.


Here is the gunner again mostly done and with those Old School Decals added. I applied decals to 3 shoulder pads today, one on the gunner obviously, one for the Lone Wolf, and one for a Death Watch Marine that I have yet to show you all. The hatches you see to the right are intended to the Land Raider's multi-melta...

...which in this pic is about 75% done. It is currently about 85% done. I was torn with adding another gunner to it, but in the end I think a Land Raider might look a bit silly with too many marines poking out of the hatches. So the hatches will remain shut and I will have to add handles to this gun.

OK, back to the Lone Wolf...


It wasn't until I was painting it that I realized that the "chain" of the chain sword is exposed on this models, so I went in past it and tried to create a shimmering 'icy' look to it. I let you lot tell me I pulled off the illusion. Also, I decided to make his pack markings 'wolf guard' just in case I wanted to used the model as a Wolf Guard leader for a squad instead of a Lone Wolf, 'cause why not?


Used a simple dry brush technique for the wolf tail. I'm pleased with the plate on the backpack.


I really am pleased with how the bone bits came out on this model. However looking at these pics on the computer at a size vastly larger than the model does help me scrutinize it with a more critical eye. I see that the black line on the knee join, which look passable on the actual model looks crooked as hell on the blown image.

So is Mr. Lone Wolf done? 99% yes. A few more minor touch ups, static grass on the base, and a light blast of sealer and he will be!

I'll be back on the road and once again taking the Portable Neverness kit with me (I flew on my last excursion and couldn't take anything with me) as well as the drop pod and other assorted items to work on. My dear friend Mrs. Bink has started her only Blog  redbirdmuse after much pressure from me to do so. She's been hand crafting her own colorful journals for awhile now and they look very cool. One of her characters in my Dark Heresy campaign is a Sister of Battle and we have been talking about doing a journal for this character in the style that she uses for her journals. I will be taking my sketch pad with me on the road and I hope to come back with some images she can use.  'Til next time,