Showing posts with label Stormhawk Interceptor. Show all posts

Saturday, June 22, 2019

Stormhawk Interceptor (Part 8)

We left off in Part 7 with the main model done with only the base left to finish. After some distractions and whatever it was time get this thing finished.


Like I did for the flight stand on the Dakkajet, first I traced out the bottom of the flight stand onto the base using a Sharpie. Then after I had placed the objects onto the base, I used watered-down PVA glue to apply the grit, but I was careful to keep the grit outside of the pattern. After this I primed the base using Chaos Black. I built up the dirt colors using a series of craft paints until it was at a satisfactory level.

Done with the dirt.

Next I put my focus onto the collapsed Statuary. I decided to to make the ruined girders and support sections rusty and older looking.
Statuary before dust coat.

The statuary pieces were also painted up using craft paints, primarily the greys that I typically use for statues, rocks and Imperial Guard uniforms and tanks. I like that granite look I guess? I used Country Tan, the middle color of my ground palette to dirty up the statuary once the primary painting was completed.

Dust coat added.

After that, I affixed the clear flight stand to the base and set it aside to bond for a day.

Flight stand joined to base.

And finally I applied a few clumps of grass to sort of spice it up a bit.

Some grass tufts to top it off.
And with that, this thing was done.

Ta-da!

Working on storage/transport for it now, but I have decided that it wasn't "blog-worthy" to chronicle that endeavor.


Monday, May 27, 2019

Stormhawk Interceptor (Part 7)

It was time for the detailing. It took me awhile to figure out exactly which icons I wanted to use. I like to use the original Space Wolf badge whenever possible, often mixing it with the newer 'Blackmane' company badge. But recently I was introduced to a technique that influenced my decision.

Now with Iconography!

Once I decided which decals I wanted to use, I was prepared to start applying decals. Decal application can be a harrowing ordeal for me, but I have learned a lot of techniques over the years and I try to share them on this blog whenever I can. But recently I listened to something that blew my mind; even more so when I proved that it works!

On a recent episode of Voxcast , GW's bi-weekly interview podcast, Mark Bedford was the guest. He recounted his history with GW;  what he had done in the past and what he does now. Basically his entire history with this hobby and GW.  But about just past the halfway part of the interview he revealed a number of techniques and tips that he employs to be a better painter and hobbyist. I encourage you to check these out, a lot of it was eye-opening to me!


The tip in particular that I used on this model was to brush on Gloss Varnish to the area you intend to apply a decal prior to application. This eliminates the bubbles that cause the transparent part of the decal to appear as a film around the application. In the past I have painted over this when it occurs, but since I have been using Microset and Microsol, it hasn't occurred as much if at all. So let's see how my first attempt turned out:

Gloss Varnish applied to the panel.
I applied Gloss Varnish to the two large panels on the side of the cockpit (This is the piece with the aquila on it). The first decal was a stylized '1'.
One hope, one vision.
The other was a yellow diamond. And dang, this technique works like a charm!!!

Yellow diamond.

Since the early '90's GW has produced decals that look like that they were designed to overlap, but in all this time I have never seen a tip on how to actually do this, in fact I still haven't! But this tip from Mark Bedford helped me figure out that once the first decal is dried, if I apply Gloss Varnish over this decal I can apply another one over it without the water from the 2nd one reactivating the 1st one.

2nd decal applied over the first.
And by Russ, it works!!! I am totally thrilled by these results!

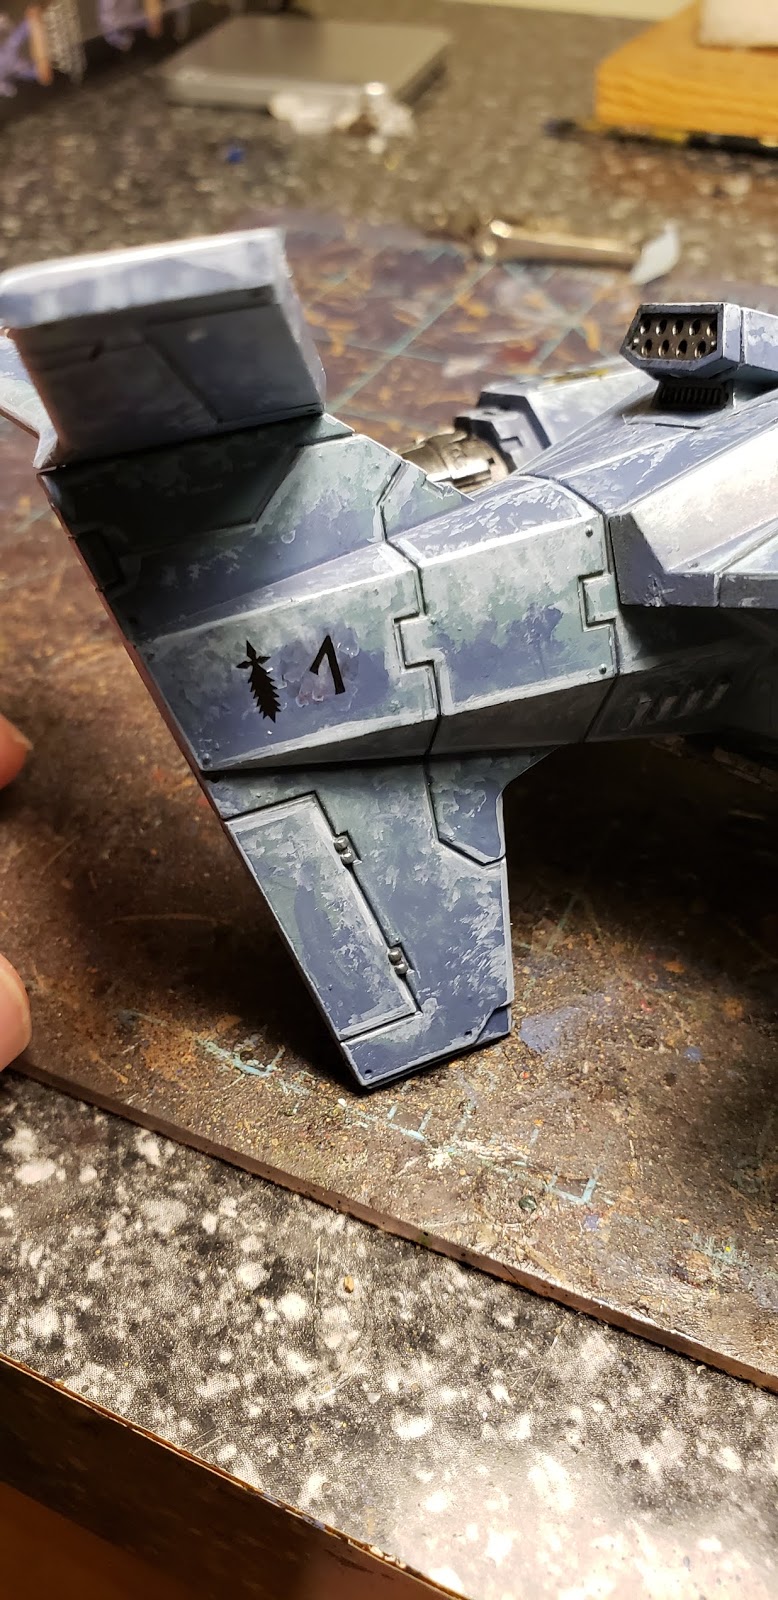
Next up I hand painted the Grey Hunters Pack marking to the tail. I assume Grey Hunters pilot these aircraft, since they seem to pilot or drive everything else in the Space Wolf chapter. The current codex is unclear on this.  Anyway, I sketched in the pattern with a micron.

Hand drawn pattern.
I then base coated the area with Khorne Red and Abaddon Black.

Pattern basecoated.
Next I painted Mephiston Red over the Khorne Red and applied a highlight layer of the old Blood Red on top of that. I then tightened up the Black until I was happy with it.

Pack marking finished.
Next I added more decals following the same technique from the Bedford interview. And repeating the overlaying step for the 2nd chapter badge on the wing.

More badges for the top.

I also added another 1 glyph, some Grey Hunter sword icons to the wing tips and tail and two campaign badges.

Designations added to the tail. 

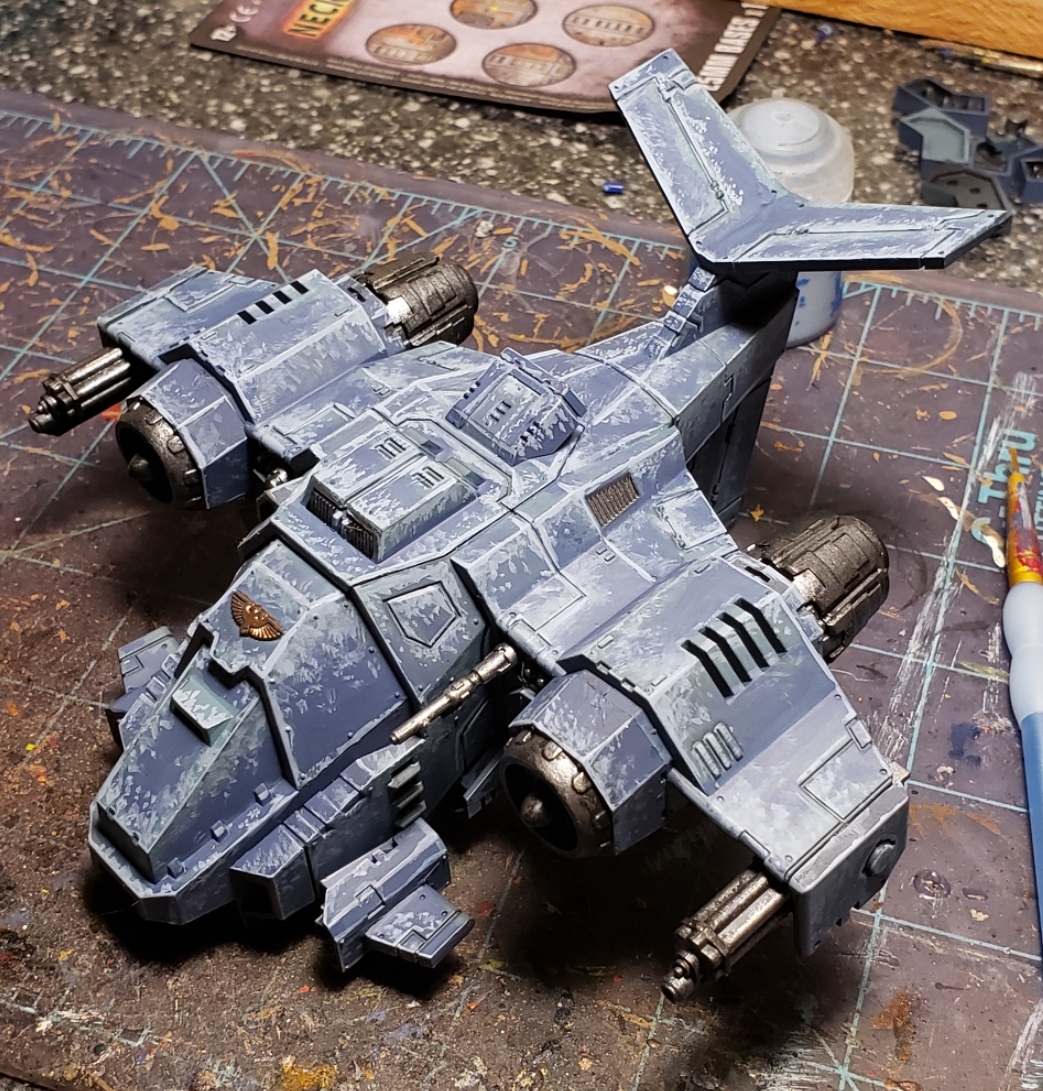
And with that, I declare this thing done!

The finished model. 

The only thing left to do is the base and flight stand but I am waiting for some Bitz that I ordered to arrive before I can proceed with that final stage. Once done I will take some "glamour shots" of this in action. Better yet, I will try to get this thing into some action!


Thursday, May 09, 2019

Stormhawk Interceptor (Part 6)

With the assembly done, all that is left is to focus on the final paint coats.

Assembly complete! 
The next paint stage for the main hull was a careful strategic dabbling of Russ Grey blended toward the edges. The edges had a thick line of Russ Grey applied.

Russ Grey dabbing and edges.

And from the anothe angle.
After that I applied a thin dabbling of Space Wolf Grey which, was added near the edges, blending into the Russ Grey. Again, a solid line of Space Wolf Grey was applied to the edges.

Space Wolf Grey layer.

Next, the final step was a thin application of Skull White was added to the edges, bolts and upper most points as a final highlight for the hull.

The Space Wolf colors are done! 

All I have left to do are the details (guns, a few more sensors, etc) and determine what the iconography I will use will be and where it will go.


Monday, May 06, 2019

Stormhawk Interceptor (Part 5)

Hot on the heels of the progress I was making in Part 4 I have continued to capitalize on what free time I could spare to continue working on this model.

Lower Engine assembly.

As I continue to assemble this model I am covering large areas of it with GW's The Fang paint in order to darken the model more for when I get to the proper painting.

The Fang low-lights are painted on.

At this point I realize that this model is smaller than a Rhino but with a ton of parts. And it's starting to become heavy from the weight of all the bitz and glue. Astoundingly, the kit has an entire Sprue that is untouched (all the options for the Stormtalon Gunship). I consider this to be a waste on GW'S part. I'm sure the excuse to include the extra sprue was to save shelf space or some logic like that. But I guess it does provide the modelers out there an opportunity to make unique versions of these things also,  so maybe that's a win? But you do pay more for this box than you do for just the Stormtalon Gunship kit, so it's a win with a cost if it's a win at all.

Too many parts!!!

This thing is coming together nicely though. I noticed after I glued on the sensors with the little fins that their weight is pulling the front fuselage from the cockpit. I apparently did not feel that I needed glue on this area when I joined those sections together but now I see that I was mistaken.

Front fin sensors now painted.

A careful application of glue, a strategic binding of a rubberband and about two hours of time and those gaps are now gone.

For a tighter bond.

The wing and engines are assembled next.

Wings and main engines.

The underwing weapon pods are assembled and joined to the engines. As a happy bonus I discover that the front plates that distinguish the specific weapon options on the pods can simply pop on and off! No magnets required!

Engine mounted weapon pods.

I continue on from here adding the last few bitz from sections 1h and 1i. Then I circle back and add the tall wings that the instructions wanted us to add way back in section 1a. Having seen how fragile the Ork Fighta Bomba's tall fins are, I decided it was best to save that for last with this kit.

All together now! 

And with that, assembly is now complete!!! Hoorah!
...Now onwards to the painting stage, a lot of which is already done.


Monday, April 29, 2019

Stormhawk Interceptor (Part 4)

Got some more work done on this thing since Part-3.

Current progress level.


In particular, I focused on making the main guns interchangeable. The interior cavity above the weapon mount is perfectly sized for a magnet.

The hole is made.

I used a drill bit that would make a hole smaller than the magnet that would sit in that cavity.

Testfitting the magnet.

I superglued the magnet over the hole. This will allow the smaller magnet, that will be attached to the gun, to make direct contact and therefore have a stronger connection.

Defining the hole.

I had to work on the hole with my exacto to whittle away the excess plastic to allow the smaller magnet to connect better.

Working with the magnets.

With patience and tenacity, I was able to get this to work perfectly!

Success!

Next I tested out the fit of the cockpit section with the fuselage. It joins beautifully. This is an amazing designed kit, and I am impressed with how nearly snapfit it is!

Fitting it together.

Once I got the the guns together I made sure to test how well they joined up before final assembly. Once I glue these main sections together there will be no going back.

Trying out the guns.

Satisfied, it was time to permanently glue the two halves of the cockpit together. Like I did with the fuselage, I applied a rubberband for a few hours to assure maximum bonding. After this, I glued the cockpit and fuselage together, completing section 1a of the assembly guide. For those keeping track, the two guns complete the bottom subsection of section 1e of the assembly instructions.

The tighter the bond...

You may have noticed I have been painting some parts as I make progress. I will discuss this more detail in a later part...


Wednesday, April 17, 2019

Stormhawk Interceptor (Part 3)

Making some progress from last time, I have began the assembly steps on this kit. As you can see in this first pic, the main body is being assembled. In the instructions pamphlet this is section 1A, and we will cover just the two subsections of that section in this post.

Yay 1A!

The first part of 1A is to assemble the main body. Quickly you discover the, almost absurd, details this kit has when you see that you are required to put a tiny grill into a port.
Grill about to go into a port.
 I decided that this needed to be painted prior to placement,  as painting this post-assembly could be challenging. I did this, and some of the other grills, by using a dark metal color (Boltgun Metal from the older Citadel Color range) and washing it with Nuln Oil.

The grill is placed.
 After that, I glued the body together and tightened it with a rubberband. It will stay like this way at least overnight, but more likely until whenever I next get to it.

Rubber bands for a tighter join.
 Next came the 2nd half of the sub-assembly, again a tiny, and hard to paint, piece that needed to be painted prior to assembly. This piece is a sensor lens array,  which I assume is how the pilot sees what's going on outside the aircraft. I painted this pretty close (-ish) to how it appears on the box.

Sensors painted.
And with that painted, I inserted it into the cockpit.  However I did not yet fully assemble the cockpit as I am considering placing a magnet into the primary weapon port. I have made a decision on that by the next part of this series.
Sensors attached. 

Monday, March 11, 2019

Stormhawk Interceptor (Part 2)

I said at the end of Stormhawk Interceptor part-1 that it would be awhile before I would be able to give you an update on this one. Well, the stars aligned just right to allow me to make some progress on this thing.  It all started with a rare find. I was visiting a local gaming store (Dewaynes World) and came across this can of Shadow Gray Citadel Colour spray paint. I have sought this stuff out for years and simply never saw it there before.

Shadow Gray. In a can. 

The weather here in east Tennessee has simply sucked. Winter has been replaced with a season of mud, water and floods. But in the past two days, the sun as appeared to occasionally dry this place out just a little bit and I saw the opportunity to try out this spray paint.

Masked off with Artist's Tape. 

First though, I had to mask off the sections I wanted  to try to keep black. I used acid free Artist's Tape for this.

Shadow Gray freshly sprayed on. 

I had a really challenging time getting the spray paint to come out of the can at first, but when I finally did I was a little worried that the color may be too bright. Even layered over black like it is, it still seems bright.   But I suppose a lot of paints do this.

After a few hours of curing and no longer wet.

After letting it cure outside for a few hours I brought it in and removed the masking tape. The Artist's Tape did the job perfectly! The paint itself seems to have darker as it dried but not too much. I may have to hit the recesses with The Fang to deepen the color a bit more. We'll seen ok once I get around to the assembly stage...