Sunday, December 02, 2018

Space Marine Heroes: Celestial Lion Sgt. (Part 1)

Assembling of a hero...

Hello. Way back in the winter of 2018 (it's been a long year for me) I bought a Space Marine Heroes Sergeant from Ebay. At the time this range was exclusive to Japan so he made for a cool rarity to have. Also with the arrival of the Primaris range of Space Marines, the classic style of Space Marine didn't seem likely to ever see any additional releases. And I wanted this guy to lead a unit of Ultramarines that I wanted to build around the color scheme test miniature I painted in the summer of 2017.

Materials included with the Japanese release.
Fast forward to now, and this range has been mostly relaunched for the rest of the world. I say "mostly" because some of the Japanese miniatures are simply not part of this release. Those "missing" miniatures have been recast in uniquely colored plastic and included in a game you can get from Barnes & Noble (tip: get a B&N coupon!) if you really must have these guys.

The release for my part of the world.

 So I bought a few boxes, and as my luck typically runs, the first box I open is another Sergeant!

The sprue right from the box.

Clearly I had options available to me, but the one I decided to go with is to make him into another Celestial Lions Sergeant. I made my Celestial Lions for the previous incarnation of Kill Team, and if my schedule ever allows it, I hope to use them for the current version as well. Having an alternative Sgt doesn't seem at all like a bad idea to me, and who knows, maybe I can now break them into two smalls squads for allies or something in a proper 40K game? Regardless, options are good!

Primed and (mostly) basecoated!

So I started with basecoating the sprue with a gold spray paint. Pretty simple way to start. Then I detached the parts and focused on the base first. Applebarrel Graphite for the rocks and Terracotta for the dirt.

Coats for the base. Basecoats. 
Next up it was an application of Chaos Black to the areas that will be metallic or black. These are the joins between the armor, weapons etc.

The parts are gathered and basecoated. 
Next I used Chestnut Ink in the armor recesses to create depth in the tone. I then applied a dark blue to the shoulder and knee pad areas. I'm a bit torn on how to paint the leather loin cloth strappy thing... going to have to think about as well as which head I want to use. And I am also wondering if I should do something different with the chainsword this time also. Hopefully I have made up my mind in Part 2 and we can get this hero assembled.

Progress thus far.

Until then, thanks for checking out the start of this one.


Monday, November 26, 2018

Pods to Drop and Lands to Speed (Part 15)


All coming together.

Continuing on from last time, I kept on adding layers to the hull. Space Wolves Gray was thinned down to blend in with the Russ Grey mid-coat. A solid layer of Space Wolves Gray was applied to the edges to tighten it all up before the final highlight of White Scar was thinly painted onto the edges. The left shoulder pads were painted up from Fiery Orange to yellow using thin-to-thick layers of Sunburst Yellow. And the bronzey bits were painted using a base of Tin Bitz, followed by new color I recently got called Hashut Copper with a highlight of Shinning Gold.

Highlights added on the hull.

The Grey Hunter pack markings were sketched onto the side using a red micron. This was more like a guide line though...

Micron guide line.
...as I just free-handed over this with Scab red and Chaos Black. Mephiston Red was the final color applied to this.

Grey Hunters pack marking.

Up to this point I had not looked at the first Typhoon model I painted way long ago (not directly anyway) so I thought it was time to dig it out to compare it. All in all, it's pretty damn close! The biggest difference, paint scheme wise, is how I highlighted the front plate of these speeders. The older one is a tad bit darker, but it's not too contrasting I think.

Typhoons together again.

And yes, the real difference is the lack of Typhoon Missile Launders on the newer model. In fact there is a bit of a story here as to why that is. You see, ages ago I bought 3 blister packs from GW of the metal versions. However, these are very solid and heavy accessories and they bust off of the finished model a lot. You may notice the missiles are a bit crooked in the above pic because the last time they were glued on it was during a game; a battlefield repair if you will.


The original pewter Typhoon Missile Launchers.

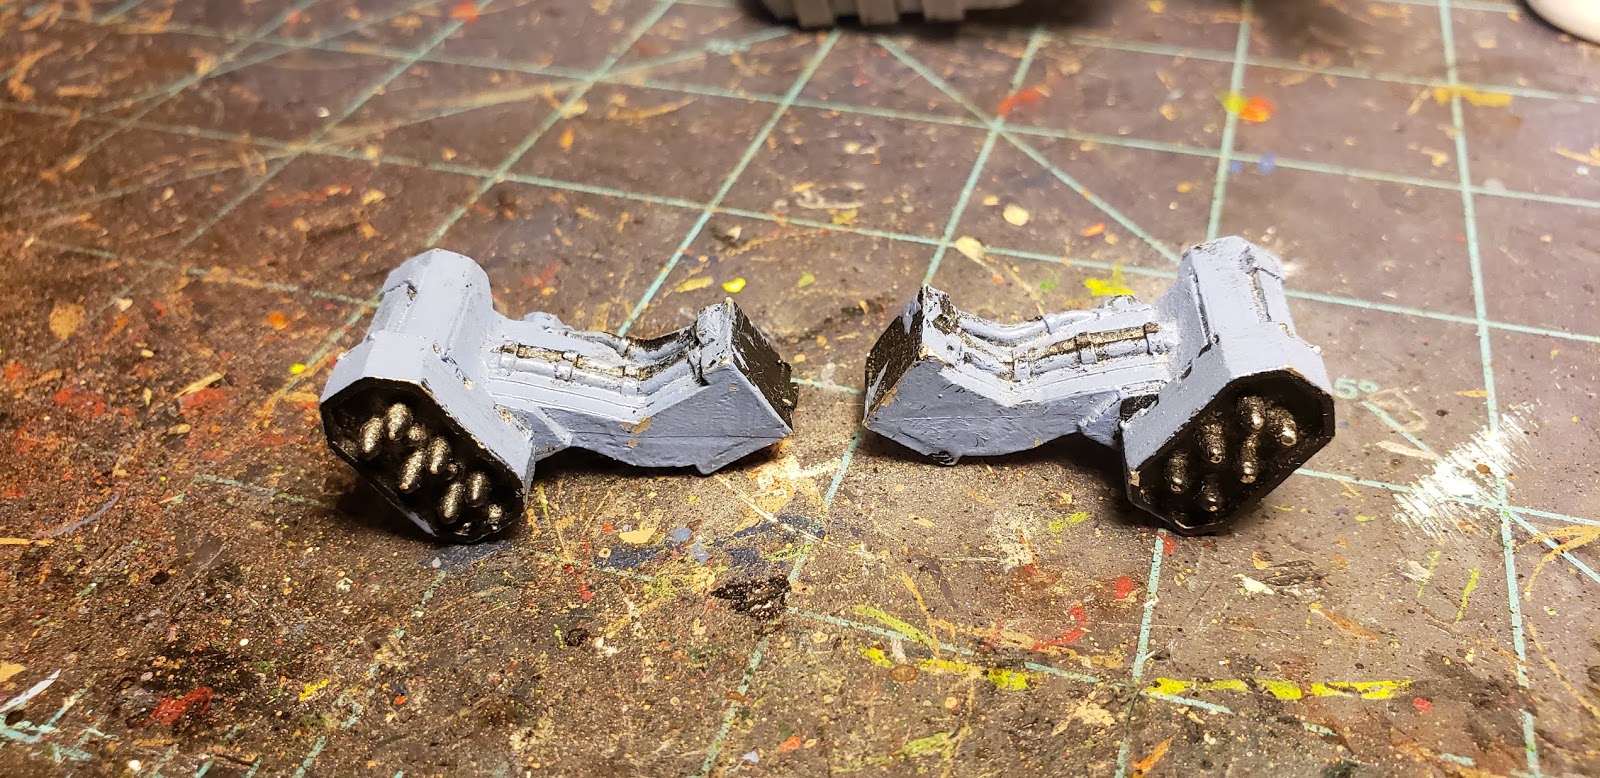
So my set of missile launchers have been kicking around in the Portable Neverness Kit  for years now and I just couldn't bring myself to do a second one of these things that I would have to repair all the time. Enter the Dark Angels Accessory Sprue:

The plastic Dark Angel Typhoon Missile Launchers.

Light weight, multipart,  better detailed and fairly easy to build... it is the perfect solution! Added bonus: no lame Dark Angel nonsense that would need to be scrapped off! Now, let's see if I can get it painted in our next part.

Tuesday, November 20, 2018

Pods to Drop and Lands to Speed.(Part 14)

When I left to go out of town on a few recent trips for business, I took the Portable Neverness Kit with me. My intention was to work, once again, on my neglected drop pod  as well as the intercessors I started on back in October. However, while getting everything set up for a round of furious painting I discovered a basecoated Landspeeder Typhoon within my portable kit. For some reason I was more compelled to work on this than the intended Drop Pod. Go figure.

Base coat.
You might recall that I have always intended to produce three of these things. The first Typhoon was completed back in the early days of this blog. I guess I had always intended to work on this model while I was on the road for work, but usually I found that I was tired from traveling to get much accomplished. This is why that 2nd Drop Pod has been an exercise in tedium. Also, I rarely travel to the degree that I stay in hotels all that much anymore, so the chances to work on it are far less frequent.

Russ Grey layer.
Now, during one of my recent travels my phone, a Samsung Note 5, decided to brick itself. Just dropped dead and died. It happened a few hours before I was supposed to catch a flight home which made that trip quite challenging indeed. Luckily I had my tablet with me so I was able to communicate to some extent. I lost all of my photos, some of which were saved for future blog posts. They just were not backed up to Google Photos like I thought they were. No worries, now I have Samsung Note 9 which I am just loving. However the camera is far more advanced and I am having some adjustment struggles. You can see in these photos that, despite their clarity, they tend to be a bit washed out. I assure you that the model isn't this bright in reality.

Tin Bitz base. 
Following the steps I usually take for painting Space Wolves, the hull and armored areas are now pretty much done. Just need some final highlights. I have decided not to go with the orange-to-yellow scheme on the aquila chest plates of the crew, but instead go with a metallic scheme. I think all of my Space Wolves will go this way ultimately as I simply like this look better (as well as the fact that they are much easier to paint). I use Tin Bitz for the base coat of this scheme.

Space Wolf Grey layer. 

With time a precious and fleeting commodity as of late, and my struggling with getting anything done, I have persisted enough to be able to show off some progress here. All that said, I hope to get more done on this thing (and other things) soon.

Saturday, November 10, 2018

Neverness goes to Warhammer! (In Richmond VA)

The title says it all, right?

 Actually it doesn't as this visit was very fun and engaging, even more so than the other Warhammer stores I have visited. Regular readers will note that I haven't posted much lately and that is due to the copious amount of training I am doing for my new job. The latest training has taken me to Richmond Virginia, and after I got here I decided to look and see if there was a Warhammer store nearby -and sure enough there was! After locating it, I was immediately impressed by how warmly I was greeted by the Manager (Bree) and the store's patrons. The conversation was easy to get going, as 40k-geekdom is a language unto itself!

Warhammer: Richmond.

After a brief introduction and tour of the store I asked Bree, the manager, if it was OK to take some pics for this blog and she enthusiastically said yes. These first pics, as one would expect, showcase the starter sets for Warhammer 40,000 and WH: Age of Sigmar. As a new customer or first time patron would likely see these as their gateway into these game systems, they are placed right at the front of the store.

40k starter diorama.
Bree was painting Harlequin miniatures in Christmas colors for an "elf on the shelf" event shelf is doing soon to promote Secret Santa event that the store is hosting. We had a fun discussion lamenting all the gems on those Harlequin models and the Joy's of painting them all...

Age of Sigmar diorama.
But the really fun models are always the staff/customer showcase models and miniatures. That Stompa is particularly inspiring!
The Stompa dominates the case!

As were these obviously Khorne themed mods.
Lots o' Blood for the Blood God!
I found this next one to be particularly inspiring. To encourage and inspire her younger patrons she asked her regular customers to bring their first, or earliest, painted model or miniature to put on display. Most of us look back, usually fondly, at our earliest painted efforts as a measure of just how far we've progressed in our craft and talent over the years. But more importantly we can show the newbies that, hey, don't worry if your first efforts aren't Youngblood trophy winners, you will only get better as you paint more and more. I thought this was awesome for Bree to have in her store!

Everyone starts somewhere! 

Next up we have a few fantasy models painted by Bree herself. The giant is particularly awesome. I have this model, unbuilt and unassembled, and I am always shocked at how small it is compared to the box...anyway, hers turned out very well indeed. The image with the yellow cloak is rather striking as well!

Fantasy!
Towards the back of the store there are charts, rules, graphs etc. where the various campaigns and leagues are being tracked. There is a Kill Team area and a rather big Age of Sigmar campaign. Bree told me about the unique missions that she made for it and how engaged her players were in their participation. Sounds like lots of fun, and it made me wish I could participate.

The Shyish Campaign.

After talking rules and GW history with the folks there I made a purchase (an audiobook, for the ride home) and wished everyone well. I have found out that 40k day is Thursday nights so I hope that when I return to town next week (yay, more training) I will be able to stop by on that night and see what the action is like. If you live in this part of the country, or are passing through, go and pay the store a visit. I am sure you'll leave inspired like I did!

To find out out more about this shop and what they are doing with events and games, you can follow them on Facebook. Thanks again to Bree and her friendly customers for making me feel right at home!


Tuesday, October 30, 2018

Dreadtober Blood Axe Dreadnought (Part 5)

At the end of the part 4, I promised some outside natural lighting pics. And today I was able to find a moment to make that happen.

Natural lighting in a sea of moss.
I still may or may not toss a few decals on this thing but time has yet to be available to do so. And I am OK with that simply due to indecision on my part. So for now this shall remain as is.

Check me out on the good side here..

The olive drab does cameo this model well, something that other orks shun but the sneaky Blood Axe gits totally get a kicks out of.

And that wraps up this year's Dread/Ork-tober event for me. I am thinking next year I will paint up a traditional Goff Ork Dreadnought, but my mind could change by then. Thanks again to the guys at the Dreadtober page for inspiring and organizing this year's challenge!

Sunday, October 28, 2018

Intercessors of Fenris (Part 2)

I was recently able to do some more work on the new recruits for my Space Wolves. I worked up the bases for the Intercessors, but while doing so I found that I had the desire to double-up and so I built another squad.

More recruits.

This are the starter guys from the starter set. I built these guys and applied a few Space Wolf flourishes (or do you guys prefer "accessories"?). So after I glued gravel, and a few skulls, to their bases it was time to prime them. But I needed a new place for priming models. Finding some unused cinder blocks and a slate from a recently retired (i.e. destroyed) dog house, I created this Alter of Priming.*

The Alter of Priming. 
OK, so before I get called out on it, the first sacrifice to the Alter of Priming, if you can tell from the big green spot, was actually the Dreadtober Blood Axe Dreadnought. I just didn't think about taking pics or discussing it until I was about to start priming miniatures for this project.

The Primaris Marines await their priming.
After the primer was fully dried I decided to just jam out a single marine. Sadly I didn't get further than the basecoat, but so far I am digging how it looks like this may turn out. Hopefully by the time I post Part 3 this model will be finished.

Base coat on the first Intercessor. 

*It can only hope to aspire to achieve the legendary status of The Brick of Scrutiny. -Gotta have goals!

Tuesday, October 23, 2018

Dreadtober Blood Axe Dreadnought (Part 4)

Finding a few fleeting moments last week, I have managed to complete this model. Well mostly anyway. I have some decal ideas I want to try out. But here it is 95% done.

Done but for the decals.
The finals steps to get me here are next. The first step being painting the hatch. This didn't take hardly any time at all.

Hatch applied and painted.

Next I painted the windows. It still cracks me up that these dreads would have windows, but hey, there they are!

Windows painted.

Then I focused on the weapons. I chose to make this one's fuel tanks a brighter red that last year's dread.

Fuel tank painted.

After a few touch-ups, I decided that this was actually done! So after finishing the painting of the base, grass tufts were added.

Tuft love.
There are two skulls, 'umie of course, that had to be finished also.

More grass tufts.

Pretty much done! 

I hope to get some outside natural lighting pics soon, however it was raining when I last had the opportunity to do that. Since I have some decal ideas this is probably for the best anyway.