 |
| Finished! |
As I said in
part 2, the painting on the main miniature was almost done. The next step was to work out how I wanted the bells to appear. Using Shining Gold, I painted it up to gold first, but as I suspected, it clashed too much with the Bad Moon Yellow garments.
 |
| Shining Gold bells. |
So I toned them back to a more copper-like look by applying a red ink wash over the gold. I liked how this turned out.
After this I finished it off by painting the teeth on the Warphead and the double-moons on his staff. One of the final steps was dry brushing Snot Green onto his hair. I really liked how that turned out also.
 |
| Finished painting on the main miniature. |
The hero base had another layer applied to it. For this layer I used Indian Red, an Apple Barrel craft paint, which is a good rusty-like color to use for this sort of thing. I am debating with myself (something I find myself doing with more alarming frequency as I age...) with exactly how I want to this thing to out. I am strongly considering making it match
the snowy ruins I painted for my local gaming store back in January.
 |
| Indian Red layer. |
Inspired by the model from January I kind of just went for it and knocked out the base fairly fast. I added the patina by sponging it on, and the orange rust was done with deliberate applications of Orange Ink.
 |
| Finisbed base. |
The most stressful stage was removing the miniature from it's old base. Being metal it could chip easily if not carefully handled. I wrapped him in a paper towel while I used a pin-vice to drill two holes into his feet.
 |
| Pinned feet. |
I painted the bottom of the pins with white paint and while they were still wet, placed them on the base where I wanted him to go. This left two dots which I then turned into two holes with the pin-vice. After that, he was fitted on with superglue.
 |
| Glued into position. |
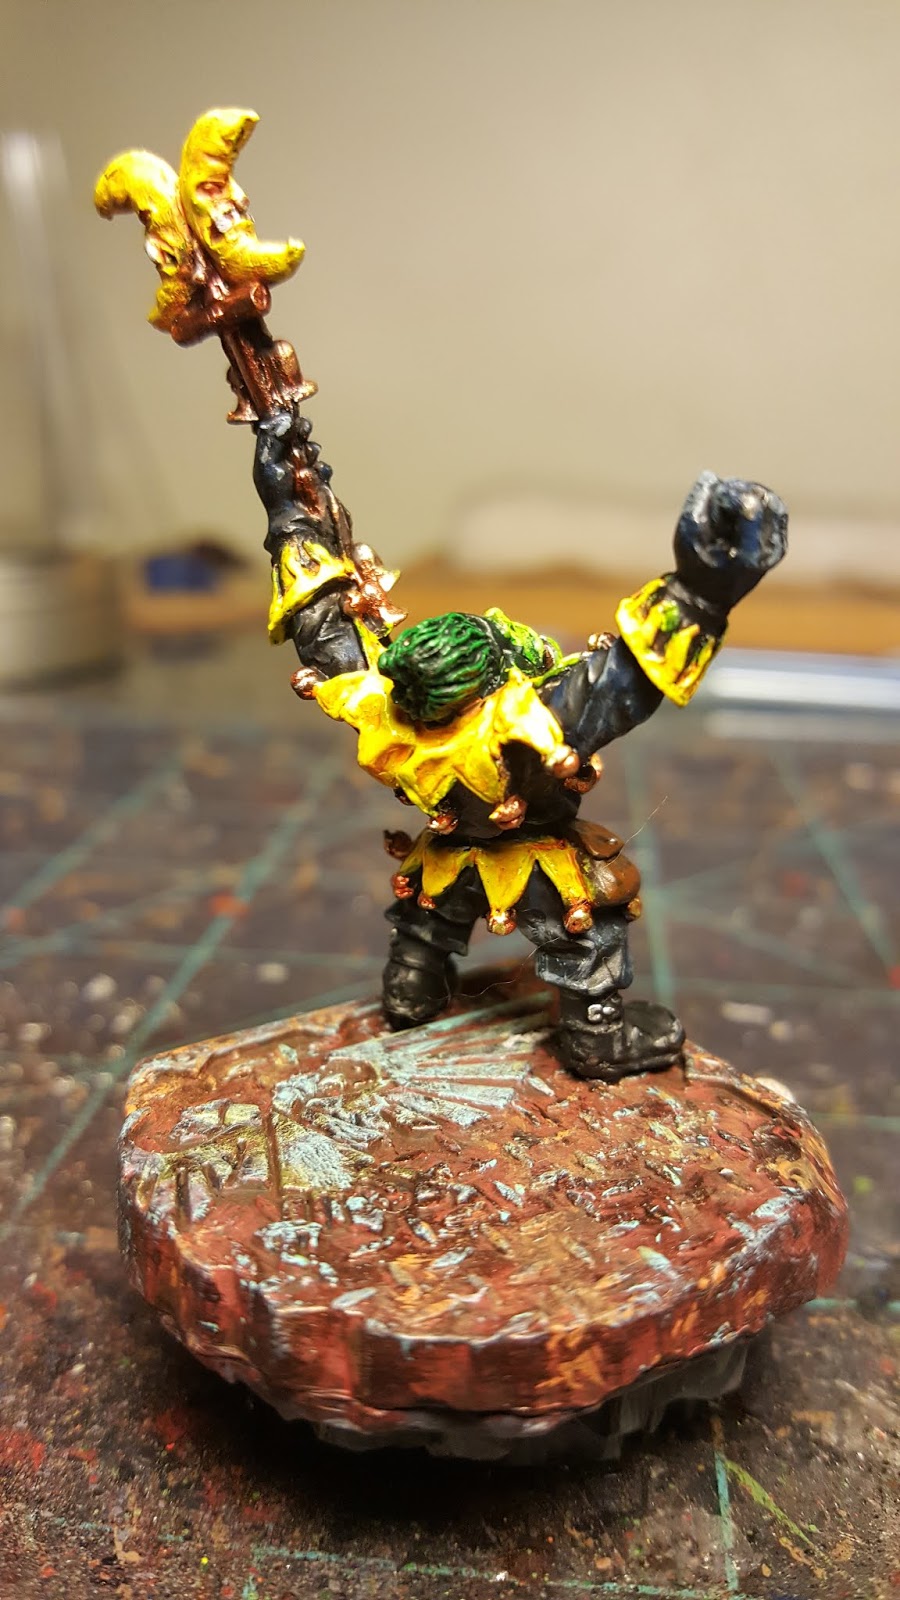
I am tempted to add a marine head to the top step behind the Warphead, but I am trying to decide if it really needs it or not... I can always add one later I suppose.
 |
| Rear view. |
And there we have it, a leader for my Bad Moon battalion! A classic, yet rarely seen, miniature from the later days of Warhammer 2nd Edition, updated for the current game. Hopefully he'll perform better than my
Goff Weird Boy has so far.
 |
| Warhound Titan's eye view. |
Now, back to the
Meganobz...


3 comments:
Great work, mate! :)
Where are his minders? :)
I have a set of those 2nd ed era Bad Moon Minderz however they are redundant in the current rule set. Still, I can't help but think that I should paint them up anyway...
Post a Comment