Wednesday, May 30, 2018

Ultramarines Captain

Here is an "old hammer" model for you: the 1991 Ultramarines Captain.

Captain of the Ultramarines 3rd Co.
I started on this miniature a few years ago (no, not 1991, but sometime this century) but for some (now forgotten) reason, I had abandoned it. I rediscovered him last summer when I was doing my Ultramarine color scheme test and I decided to put him into the paint queue.

Queued up.

And he sat in that paint queue for another half of a year.

Over halfway painted.

In order to proceed it only made sense to extend the base. I once again relied upon secret weapon conversion rings to achieve this.

Base extended.
Since I extended the base I painted up the cape and worked on some of the other details. I played around with changing the Ultramarine icon on the left shoulder pad to red (it's the 3rd Co color) but decided to change it back to white due to the way the red clashed with the other colors.

Cape painted up to white highlight.
I painted the cape up to the White Scar highlight, thinning it up to a solid, for a bit more blending and contrast.

Tau skulls added. 

As an afterthought I added a pair of Tau skulls to the base. My Ultramarines seem to enjoy Tau hunting when they get the chance so it seemed only proper to have them as our dead xenos of choice.

Rear view, pre-cape.
I was originally thinking about doing some crazy line work on the back of the cape, but chose instead to just put a small chapter icon in corners. It's subtle effect, and it didn't required too much patience or skill to accomplish.

Completed with cape.
I hand drew those icons, as well as the one on the  white knee pad, using a red micron pen.

Rear view with cape.
Here is an almost birdseye view so that you can see the power sword better.

Top view.

The first image in this post shows the model completed with grass tufts. I am pleased with the results, and look forward to one day having him ordering around those large Primaris brutes while waiving his lil sword around. It'll be fun.

Sunday, May 27, 2018

Venom (Part 6)


When I thought I was done (Venom-part 5) It quickly became obvious that I had to do something about the flight stand with this Venom. The Venom was barely staying on it, and I don't want it getting damaged during play.  My solution: magnets!

I put one in the hole on the bottom...

Magnet in the hole! 
...and one on the tip of the flight stand. I had to carve into the flight stand quite a bit to get a good mount for the magnet. It's not as straight as I would've liked, but then again the Dark Eldar are a bit crooked by nature...

Magnet on flight stand.
The first pic in this post shows the now magnetized Venom outside in a shady moss patch. I hope to add more Venoms to this one, as well as some Raiders, as my Dark Eldar raiding force comes together. When I start the 2nd Venom, and other craft, I will make sure the magnets are done prior to assembly.


Wednesday, May 23, 2018

Venom (Part 5)

The Venom is ready to fly! 
And here we are at the finish, but first let's check out the final completion stages of this model. After way too much time lost in a state of scrutiny, I settled on how I wanted to arrange the Bladevanes and the Chain-Snares.

Bladevanes attached.

I also finished the interior HUD glyphs by filling them in using a delicately placed application of thinned Vallejo Game Color Livery Green. I think the results really pop and contrast wonderfully against the reds on this model.

Finiabed HUDs. 
Back to the bottom, and I decided to attach the Chain-Snares next to the Bladevanes. The in-game benefits are just too good to leave off of the model and they add a great sense of menace and malice.
Chain-snares attached.

Then it was time to attach the gunner and the pintel mounted Splinter Cannon.

Gunner and gun glued into place.
And there, it is essentially done! The only thing left to do was to attach the canopy, which I did using Testor's Clear Parts Cement. I have been holding on to this unopened bottle since the day I bought it, which was on the same day that I got the Waaagh Plane five years ago.

Canopy attached. 

I am thrilled with how this came out and I am eager to do more with this army. I have a 2nd Venom which I think I will put the trophy rack on. I like the idea of having a few of these, each with subtle differences from each other.

View of the rear section.
The only concern I have with this thing, other than storage which I think won't be that big of a deal, is the flight stand. I thought it would hold the model on it's own but it doesn't do a very good job of this. I am probably going to have modify it somehow with magnets.

Ready to fly out and catch some slaves.
I wanted to take some shots outside in the natural light and in the moss, but the weather has not been cooperative, so I hope these pics on the Red Tool Box Of Judgment do it justice.

Thanks again for your support.

Wednesday, May 16, 2018

Venom (Part 4)


This project is coming along nicely, even though I have had to slow down on it a bit. I have opted to not build the full crew for this one (yes, this will not be the only Venom for my Dark Eldar force) as I want to keep this first one fairly simple. Having said that, I did finish building and painting the gunner.

Half way done with the gunner.
She came out pretty much as I expected she would. I will glue her and the cannon into position a little later. Here she is propped up with the Splinter Cannon while I was assessing how this would all come together:

Kill position test-fitting.

Speaking of the Splinter Cannon, the lower mounted guns have been causing me some trepidation. And hesitation. Turns out that these are perfectly set up for some easy magnetization. But, I hesitate doing it for this specific Venom as I worry that it could damage the paint job. They seem to both snap in fine as they are so the point might be moot. I had intended to just go with the Splinter Cannon but it is a points upgrade in both 7th and 8th edition. And honestly the twin-linked Splinter Rifles aren't a bad option in either edition either. *sigh* Clearly, I do sweat the little shit...

Gun options. 
I should have it figured out by Part 5. Heck, this thing may even be done in Part 5 also! We'll see...

Sunday, May 13, 2018

Venom (Part 3)

After I took the rubberbands off, it was time to for the next stages. I painted the platform that the passengers and gunner stand on. I used Tin Bitz with Shinning Gold drybrushed over it. That was for the platform itself, the rest of it was painted to conform to the rest of the Venom.

Rear platform attached.
I painted the control panel that the pintel mounted Spinter Cannon attaches too prior to attaching it to the Venom.

Rear view. 

Next, I decided to tackle the canopy. I probably won't attach it to the Venom until closer to the end, but I wanted to get it painted regardless. Note that I am painting both canopies for contingency reasons (in case I screw one up) and also so I can just pick whichever one turns out to be my favorite. I followed the steps from a box that was on page 23 of White Dwarf Weekly #35 (Sometimes it was actually worth buying). 

From WD Weekly #23*
 Luckily I had some Imperial Primer, but since I never use the stuff it was seperated. I had to take a stick and aggressively mix it for about 5 minutes until it was thick and consistent again. I couldn't use the suggested putty method that they recommend, so I decided break out my modeling claw thingy from Testors.

Deployment of the claws.
Once the canopies were in place,  I painted on the Imperial Primer. It was not an easy task and I had to do multiple layers before I satisfied enougb to go to the next step.


Following all the stages I outlined in the previous post, I painted both canopy stanchions while they were on the claws. In case you're wondering, I painted both just in case I messed one up.

Painted stanchions.

I shall stop here with some sound advice from Da Masta Cheef :

"Don’t clearcoat that canopy, it’ll fog out, put it on the venom after that step."

He is totally right of course, so we will save that ritual for last.

*snippet from White Dwarf is (c) Games Workshop LTD and used here for reference only, and without permission, and not as a challenge to said copywrite.

Wednesday, May 09, 2018

Venom (Part 2)

After completing the cockpit it was time to work on the main hull assembly.

The test fit.
I won't get too wordy with these steps, they are essentially the same steps I used on the Archon of the Obsidian Rose I recently painted. So I shall do this with pics:

Abaddon Black base coat.

Scab Red (thinned to a wash).

Khorne Red (thick lines).

Blood Red (lines on edges).

Wild Rider Red (edges and points).

Sunburst Yellow (highlights). 

Surface highlights added. 
With the hull painted, it was time to unit the two halves. First I glued the cockpit into place, then I merged the two hull pieces into place. It looks like the pieces wanted to warp and leave gaps, so rubberbands had to be deployed.

Banded for a better bond. 

And I will leave it here while the glue cures.


Saturday, May 05, 2018

Venom (Part 1)


"Ground Control to Pilot, get ready for cockpit check,"

Just under a fortnight ago, while working on my Archon, the wonderful Mrs. Neverness bought a Dark Eldar (that's "Drukhari", for the kids out there) Venom for me. I immediately set about working on it as I wanted to show my appreciation to Mrs. Neverness for this sweet gift.

This is the first one of these kits I have tried to build. So I, like a good modeller, referred to the instructions. Assembling and inserting the cockpit into the hull is an early step in the construction process. Looking at the cockpit assembly it is quickly apparent that it is surprisingly complicated process. And getting to those details to paint them after the fact could be tricky, so I decided to completely paint the cockpit and pilot at this stage. I did something similar with my Waaagh Plane a few summers ago.

Basecoats on the pilot.
Seriously though, I know these are model kits first, but most people buy these things to play with them. With that thought, I can see why there are so many examples on the web of the cockpit glass painted in a tinted manner so as to avoid having to assemble this needlessly complicated pilot and control interface. But I am a persistent hobbiest and opted to take the harder route, and I am glad I did as the payoff is so much more satisfying.

Painted xenos head.
Here we have a xenos in it's fully evolved state: with it's head on a pike! I used the steps in Raiders of Commorragh to paint the head.

Control details.
Once everything was done, it was time to assemble it. It kind of looks like an ejection capsule or something when it's seen out of context from the rest of the craft, doesn't it?

Finished cockpit. 
After the final  cockpit check this hedonistic freak is ready to climb into the skies. That is, once the rest of the craft gets assembled around him...


Wednesday, May 02, 2018

Remember To Take Your Rad-Pills.

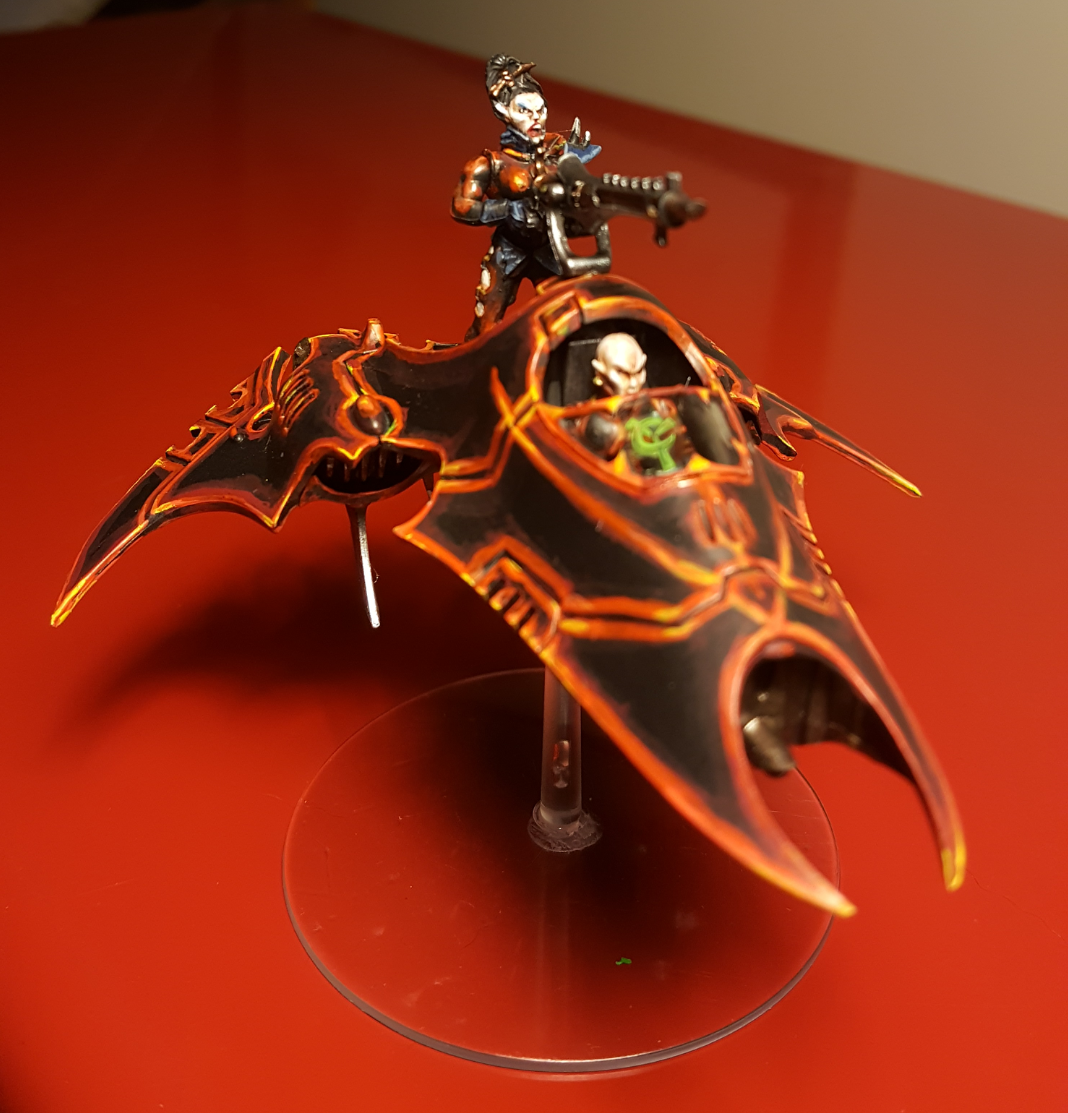
Who is stalking who?

It has been far too long it seems but finally the stars aligned where I was able to play a game at the Hobbytown Game Night in Johnson City. The Bob was available, so we agreed to play Kill Team (and yes, we're hopeful for the new edition). I arrived with the Celestial Lions and Bob brought his Skitarii.

The Skitarii had their Radium Carbines and they were led by an Alpha with a Taser Goad and a Phosphor Pistol. The special weapon guy had a Plasma Caliver. The Iron Strider was equipped with a Taser Lance. I feared the Iron Strider the most, because the previous time I encountered one of these things it proved to be quite challenging to defeat.

Quite challenging indeed.
Bob won the roll-off to choose sides, deploy and go first.
Skitarii deployment. 

This time I decided to try out, for the first time on the table-top, my Land Speeder. This particular load-out features two muti-meltas.
But it chewed up enough points to reduce the infantry marines down to six.

Celestial Lions deployment. 
Despite having the Leadership Ability called Quick Thinker, which bestowed my leader with the ability to Steal The Initiative on a 4+, the Skitarii would go first. I was saying to Bob (and Michael, our only spectator) prior to deployment that for me this is the worst Leadership Ability. If I roll this one up it is guaranteed that I will botch the roll!

The field of battle and both 
Turn 1

Skitarii advance, taking the first objective and getting really close to another. They were not close enough, or had no opportunities, to fire upon the Celestial Lions so they ran forward and secured their positions.

Turn 1 advance!
The Lions advanced also but my weapons have better range. My first shots were declared by the Land Speeder upon the skitarii creeping up toward the unclaimed objective outside the ruins. I rolled two 1's. A lot of my other shots were a little better but these skitarii made their saves. I eventually took out a guy in the ruins with a lucky shot who happened to be a specialist. First Blood goes to the Celestial Lions, but it was going to be a tough fight...

Iron Strider strides forth. 
Turn 2

Powering up the Radium Carbines it was time  to unleash the radioactive death. Two of the Celestial Lions were brought down by the vicious Skitarii onslaught.

Death Dealers with Radium Carbines take objective 2.
Celestial Lions turn 2 and I had to get aggressive. I sent two Marines storming into the ruins. The guy with the special weapon had to go, and I was prepared to charge him, but I managed to kill him with a Bolt pistol!

Bolt Pistol  vs Plasma Caliver. 
The Land Speeder was able to get into position to take aim at the Iron Strider with both Multi Meltas. With a blinding blast, the machine was brought down!

Land Speeder claims it's first kill.
Turn 3

The Lions proved to be more fierce than before, but that only meant the Skitarii would need to roll up their sleeves and start slitting throats. Both of the Marines in the ruins were laid low by the Skitarii within, with the last Marine killed by the Alpha in close combat. The Alpha, much to his annoyance, took a wound during the encounter.

The Celestial Lion learns what an apex predator really is . 
The Celestial Lions are now officially broken due to their losses. On Turn 3 they have a Plasma Gunner, the Vet Sgt and the Land Speeder left. Thankfully no one bottles out. The Land Speeder shoots another Skitarii, melting him. The Land Speeder breaks the Skitarii. Things get dire however when the Plasma Gunner shoots twice with one hit killing a Skitarii Ranger but the other shot instead gets hot and he fries himself leaving just the Vet Sgt as my one infantry model.

Turn 4,

The high leadership value of the Skitarii Alpha, with his Leadership Ability extending his range for Leadership tests out to 12" instead of the usual 6", should've been a good thing. But Bob's dice wanted to roll high, resulting in the Alpha  and two other Rangers pulling out and leaving the other Skitarii behind! This left him in a position of outnumbering the Lions with superior firepower to having just two models left! The Vet Sgt was able save against the Radium blasts, much to tbe Skitarii's annoyance.

The Celestial Lions had to gamble to pull out a win as technically the Skitarri could still win with objectives. The Land Speeder hopped the wall and entered the ruins, with both Multi-meltas aimed at the last Ranger within.

"Hi there!"
The Vet Sgt moved up, but failed to kill the last Ranger with his Plasma Pistol.

Closing in...
As predicted the Multi-meltas on the Land Speeder reduced it's target to ash.

01001101 01111001 00100000 01101100 01101001 01100110 01100101! 
The Vet Sgt, surviving the snapshots, charged the last Ranger and cut him down with his chainsword, claiming the objective.

Objective and battlefield secured. 

The Celestial Lions win the day with a tabling of the Skitarii!

That was fun! And it was way closer than I may have had you believe. The Skitarii weapons are brutal, the the Rangers are difficult to take down with their Feel No Pain rolls to protect them. It could have gone either way right up until the Skitarii botched those three break tests at the top of Turn 4. The Skitarii had the tools to bring down the Landspeeder, so I made sure to keep it out of either range or LOS of those guns. Only it and Vet Sgt survived this battle. It was refreshing to have my Leader actually lead and survive a Kill Team mission -and be the sole surviving infantry model at that!


The Bob and I chatted about it afterwords and here are some of his remarks:

"And the really fun radiation rules didn't even get used.
LOL!
Next time...
I'm thinking I'll try some of the long range guys next time or the rust stalkers."

We'll see what happens next time!