Showing posts with label Venom. Show all posts

Tuesday, June 11, 2024

Venom #2 (Part 3)

 I was able to make a decent amount of progress on this model since last time. Really the only thing left to do was the gunner. Somehow through the back and forth that Da Masta Cheef and I did with this thing ("Take this." "No, you!" Etc.) One of the sprues disappeared. 


So I had to build the gunner from a variety of bits.  The legs and right arm are from the original 3rd edition Dark Eldar Warrior sprue, the torso is from the Venom kit and so is the head. The arm with the chain is from the Wyches kit. 


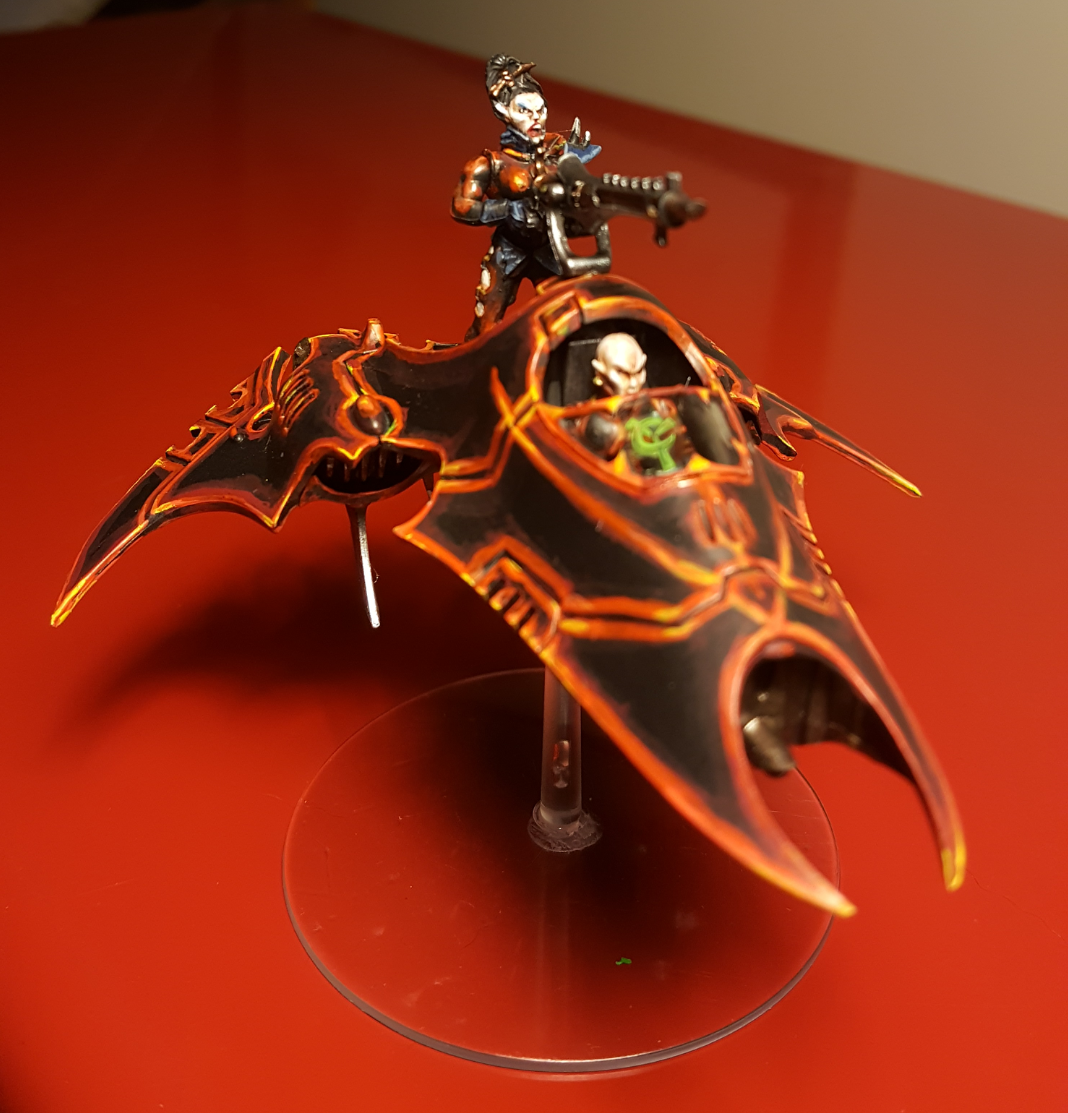
Yeah, he is one kitbashed fellow, but I think he turned out well. He seems a bit more relaxed than the gunner from Venom #1, who looks like she just wants to kill everyone. This guy is a more casual kind of killer. You can compare and contrast them with the last two pics in this post.


The last thing to do was affix the canopy to the cockpit. This was done using Testor's Clear Parts Cement, a niracle affixing agent I wish I had when I was building model planes as a kid. 


And here they are together. My fleet of dread murder elf skimmers has doubled!


Hopefully I can get the next one done soon-ish and finally start on some Raiders. I would love to finally field this as a proper army by the end of the year, but we shall see. 

Monday, May 06, 2024

Venom #2 (Part 2)

 Since part 1 was posted ages ago, this model has passed hands back to Da Masta Cheef and ultimately back to me.  Ok, so the story here is that we had played a game using the remnants of his Eldar Corsair force and they still had the option in Battlescribe to take the venom with the duel Shurikan Catapults.  I asked him, in light of this, if he wanted it back and he said "sure". But,  as the editions change so did that army and with it so did Cheef's interest in all things Eldar. As a result I now have almost all of his Eldar things. And so this  poor Venom has been hanging around my hobby area since some time last year. 

Venom 1 and Venom 2. 

I was digging around and came across both of these Venoms and noticed that one of the guns from Venom #1 was  detached. After repairing it I decided that I needed to properly secure these things. And while pondering it, felt the need to actually work on it. Finally, actually work on it. So I painted the whole thing black. 

Black coated.

I stated this way back in part 1 that I intended to leave the pilot as is, as a nod to Da Cheef. That red in the cockpit is a bit too intense, so I might darken some of that. While searching through the bits I had I realized that I was missing the sprue that had the optional crew and the gunner. Not sure if it got misplaced during the multiple trades or what, but I think I have a solution for that.  I did  notice  also that the pintle mount was attached incorrectly, so I pried it off and re-glued it. 

Thinned Khorne Red


Thick Khorne Red


Classic Blood Red

Wild Rider Red on the points and edges.


Sunburst Yellow highlights. 


The bottom.

Not a bad bit of progress there. In fact, that almost finishes the main part of the model, it's the details that are going to slow me down a little. Especially the gunner. But we'll save that stuff for Part 3...


Saturday, July 13, 2019

Venom #2 (Part 1)

Hello, and welcome to the start of my 2nd Venom project. I thoroughly enjoyed working on my 1st Venom last year and have every intention of building my second one whenever my attention returned back to the Dark Eldar. So probably not until like this Fall at the earliest? Well, that changed when Da Masta Cheef (he who trolls me), gifted me with this wonderful venom. For reasons that baffle me, he decided to part with it, and instead of selling it or repurposing it, he gave it to me after we had our recent Ork vs. Ork game.

*

Knowing how speedy and random I can be about finishing a model construction / painting project he likely assumes that it will be well into the 2020's before I finish it. And that might likely be true if not for the fact that I keep fiddling with it!

*

So some back story on this thing is necessary (I hope I don't screw this up, but I am sure Cheef will embellish in the comments if need be). He had intended this to used with his Eldar Corsairs but since their list was only given half-ass support from Forgeworld when 8th edition arrived he got rid of most of them. Regardless of all of that, the point is that this is not a standard or conventional Venom, but rather one that had been repurposed.

*
Instead of the typical Dark Eldar weapon options we find instead that there are two Shuriken Catapults on the bottom of the hull. I am trying to figure out if these should stay or go...hmmm...

*
Also the pilot is not the murder elf one would expect to find piloting a Venom but a well dressed fellow in a brown outfit with red hair (Screech?). The gunner was also going to another Guardian converted over to fit the Corsair role, but this chap was never assembled. He sits crooked for some reason (again, Screech?).

Is this where he gave up?

Now, I have no intention of keeping this model looking like this, and I have no doubt Cheef wouldn't expect me too considering that he never finished it either. I am going to paint it to match my paint scheme. However I intend to make a slight exception: I am going to leave the pilot alone! Call it a tribute to the Cheef and the origin of this piece, but that guy is done and I just don't want to alter him. Even though he sits crooked. Also if that is supposed to be Screech** I like the idea of him press-ganged into service for the Drukhari. (Cue sinister laugh).

A comparison of canopies.

Back when I was working on the 1st Venom,  I was Indecisive on which canopy to use so I painted them both. Now I have a purpose for the other one, and it will be used to enclose in this pilot. Below you can see the test fit and also get a possible sense on how this might look when I am done with it. Which hopefully won't be in 2020!

I think I might leave the display blue also...


See you back for part 2!


*Yes, I know, a photography student loses it's soul each time a photo is composed with a corner in it...*sigh*

**The Cheefs old ward and now Imperial Guard conscript. 


Sunday, May 27, 2018

Venom (Part 6)


When I thought I was done (Venom-part 5) It quickly became obvious that I had to do something about the flight stand with this Venom. The Venom was barely staying on it, and I don't want it getting damaged during play.  My solution: magnets!

I put one in the hole on the bottom...

Magnet in the hole! 
...and one on the tip of the flight stand. I had to carve into the flight stand quite a bit to get a good mount for the magnet. It's not as straight as I would've liked, but then again the Dark Eldar are a bit crooked by nature...

Magnet on flight stand.
The first pic in this post shows the now magnetized Venom outside in a shady moss patch. I hope to add more Venoms to this one, as well as some Raiders, as my Dark Eldar raiding force comes together. When I start the 2nd Venom, and other craft, I will make sure the magnets are done prior to assembly.


Wednesday, May 23, 2018

Venom (Part 5)

The Venom is ready to fly! 
And here we are at the finish, but first let's check out the final completion stages of this model. After way too much time lost in a state of scrutiny, I settled on how I wanted to arrange the Bladevanes and the Chain-Snares.

Bladevanes attached.

I also finished the interior HUD glyphs by filling them in using a delicately placed application of thinned Vallejo Game Color Livery Green. I think the results really pop and contrast wonderfully against the reds on this model.

Finiabed HUDs. 
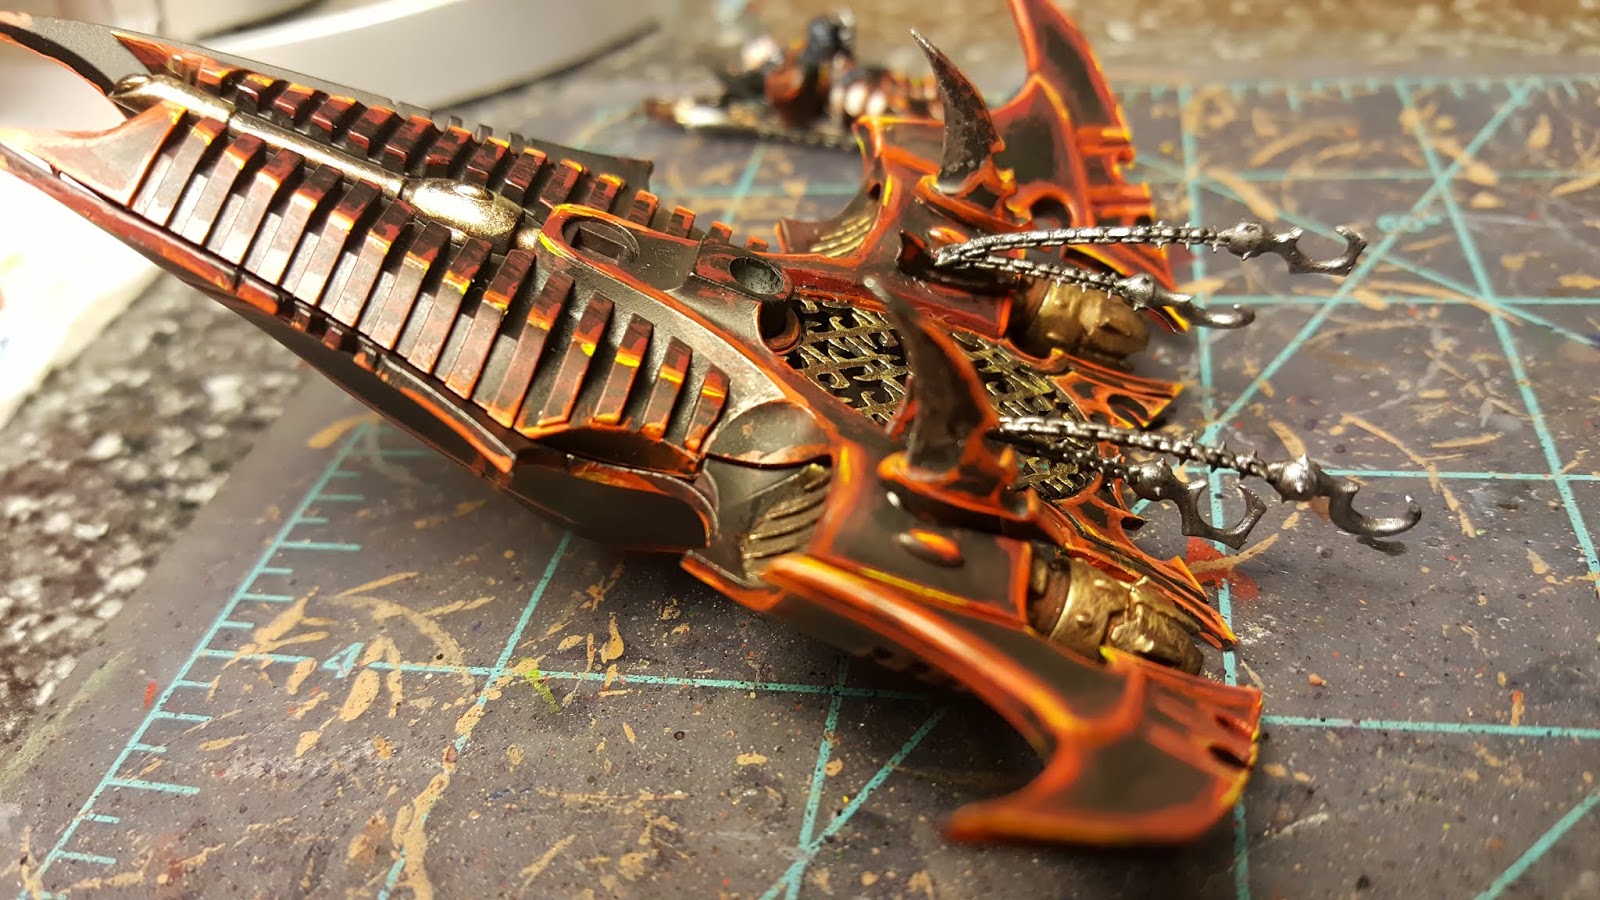
Back to the bottom, and I decided to attach the Chain-Snares next to the Bladevanes. The in-game benefits are just too good to leave off of the model and they add a great sense of menace and malice.
Chain-snares attached.

Then it was time to attach the gunner and the pintel mounted Splinter Cannon.

Gunner and gun glued into place.
And there, it is essentially done! The only thing left to do was to attach the canopy, which I did using Testor's Clear Parts Cement. I have been holding on to this unopened bottle since the day I bought it, which was on the same day that I got the Waaagh Plane five years ago.

Canopy attached. 

I am thrilled with how this came out and I am eager to do more with this army. I have a 2nd Venom which I think I will put the trophy rack on. I like the idea of having a few of these, each with subtle differences from each other.

View of the rear section.
The only concern I have with this thing, other than storage which I think won't be that big of a deal, is the flight stand. I thought it would hold the model on it's own but it doesn't do a very good job of this. I am probably going to have modify it somehow with magnets.

Ready to fly out and catch some slaves.
I wanted to take some shots outside in the natural light and in the moss, but the weather has not been cooperative, so I hope these pics on the Red Tool Box Of Judgment do it justice.

Thanks again for your support.

Wednesday, May 16, 2018

Venom (Part 4)


This project is coming along nicely, even though I have had to slow down on it a bit. I have opted to not build the full crew for this one (yes, this will not be the only Venom for my Dark Eldar force) as I want to keep this first one fairly simple. Having said that, I did finish building and painting the gunner.

Half way done with the gunner.
She came out pretty much as I expected she would. I will glue her and the cannon into position a little later. Here she is propped up with the Splinter Cannon while I was assessing how this would all come together:

Kill position test-fitting.

Speaking of the Splinter Cannon, the lower mounted guns have been causing me some trepidation. And hesitation. Turns out that these are perfectly set up for some easy magnetization. But, I hesitate doing it for this specific Venom as I worry that it could damage the paint job. They seem to both snap in fine as they are so the point might be moot. I had intended to just go with the Splinter Cannon but it is a points upgrade in both 7th and 8th edition. And honestly the twin-linked Splinter Rifles aren't a bad option in either edition either. *sigh* Clearly, I do sweat the little shit...

Gun options. 
I should have it figured out by Part 5. Heck, this thing may even be done in Part 5 also! We'll see...

Sunday, May 13, 2018

Venom (Part 3)

After I took the rubberbands off, it was time to for the next stages. I painted the platform that the passengers and gunner stand on. I used Tin Bitz with Shinning Gold drybrushed over it. That was for the platform itself, the rest of it was painted to conform to the rest of the Venom.

Rear platform attached.
I painted the control panel that the pintel mounted Spinter Cannon attaches too prior to attaching it to the Venom.

Rear view. 

Next, I decided to tackle the canopy. I probably won't attach it to the Venom until closer to the end, but I wanted to get it painted regardless. Note that I am painting both canopies for contingency reasons (in case I screw one up) and also so I can just pick whichever one turns out to be my favorite. I followed the steps from a box that was on page 23 of White Dwarf Weekly #35 (Sometimes it was actually worth buying). 

From WD Weekly #23*
 Luckily I had some Imperial Primer, but since I never use the stuff it was seperated. I had to take a stick and aggressively mix it for about 5 minutes until it was thick and consistent again. I couldn't use the suggested putty method that they recommend, so I decided break out my modeling claw thingy from Testors.

Deployment of the claws.
Once the canopies were in place,  I painted on the Imperial Primer. It was not an easy task and I had to do multiple layers before I satisfied enougb to go to the next step.


Following all the stages I outlined in the previous post, I painted both canopy stanchions while they were on the claws. In case you're wondering, I painted both just in case I messed one up.

Painted stanchions.

I shall stop here with some sound advice from Da Masta Cheef :

"Don’t clearcoat that canopy, it’ll fog out, put it on the venom after that step."

He is totally right of course, so we will save that ritual for last.

*snippet from White Dwarf is (c) Games Workshop LTD and used here for reference only, and without permission, and not as a challenge to said copywrite.

Wednesday, May 09, 2018

Venom (Part 2)

After completing the cockpit it was time to work on the main hull assembly.

The test fit.
I won't get too wordy with these steps, they are essentially the same steps I used on the Archon of the Obsidian Rose I recently painted. So I shall do this with pics:

Abaddon Black base coat.

Scab Red (thinned to a wash).

Khorne Red (thick lines).

Blood Red (lines on edges).

Wild Rider Red (edges and points).

Sunburst Yellow (highlights). 

Surface highlights added. 
With the hull painted, it was time to unit the two halves. First I glued the cockpit into place, then I merged the two hull pieces into place. It looks like the pieces wanted to warp and leave gaps, so rubberbands had to be deployed.

Banded for a better bond. 

And I will leave it here while the glue cures.